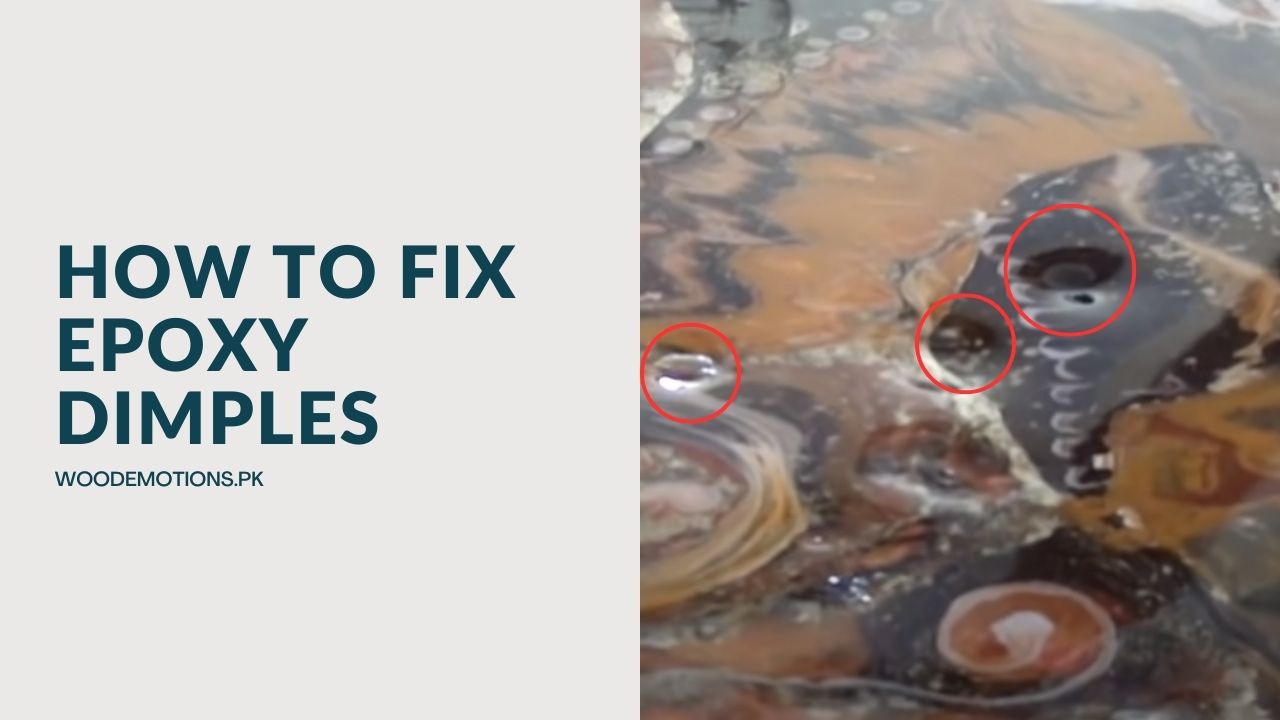
Epoxy dimples can be a frustrating issue for anyone working with epoxy resin. These unsightly imperfections can mar an otherwise flawless surface, leaving you wondering how to tackle them effectively.
To fix epoxy dimples, sand the affected area lightly, then apply epoxy filler evenly, sanding and finishing as needed for a smooth surface.
This guide will delve into epoxy dimples, exploring what causes them and, most importantly, how to fix them like a pro.

Causes of Epoxy Dimples
First, let's examine the causes of epoxy dimples, and then we'll explore their fixes. And if you're searching for quality epoxy, your search ends here; you can visit our epoxy collection page for top-notch products. So, here are various causes of epoxy dimples:
1. Contamination
Contaminants such as dust, oil, grease, or silicone can interfere with the epoxy's ability to bond properly with the surface, leading to the formation of dimples.
2. Improper Mixing
Inadequate mixing of epoxy resin and hardener can result in uneven curing and the formation of air bubbles, which may manifest as dimples on the surface.
3. Moisture Exposure
Exposure to moisture or high humidity levels during the curing process can cause trapped moisture to evaporate, leaving voids or bubbles in the epoxy coating.
4. Surface Tension
Uneven surface tension, often caused by improper surface preparation or application techniques, can result in uneven distribution of the epoxy resin, leading to dimples or fisheyes.
5. Air Entrapment
Entrapped air within the epoxy resin during application can create pockets or bubbles that become visible as dimples once the epoxy cures.
6. Temperature Fluctuations
Extreme temperature fluctuations during the curing process can affect the viscosity of the epoxy resin, potentially causing it to thicken or thin unevenly and result in surface imperfections.
7. Substrate Issues
Issues with the substrate, such as surface porosity or irregularities, can affect the adhesion and curing of the epoxy resin, leading to the formation of dimples or other defects.
8. Chemical Reactions
Incompatible materials or contaminants on the surface may react with the epoxy resin, altering its chemical composition and resulting in surface imperfections.
9. Inadequate Ventilation
Poor ventilation in the workspace can lead to the accumulation of airborne contaminants or trapped gasses, which may interfere with the curing process and contribute to dimple formation.
10. Curing Conditions
Improper curing conditions, such as insufficient curing time or exposure to direct sunlight, can affect the epoxy's ability to cure evenly and result in surface defects like dimples.
Here, we've added a forum for your convenience, hoping it'll be of great assistance to you.
How To Fix Epoxy Dimples
Here's a detailed step-by-step guide on how to fix epoxy dimples, along with the necessary tools:
Tools and Materials Needed
To effectively repair epoxy dimples, you'll need a few basic tools and materials, including:

- Sandpaper or sanding block
- Epoxy filler or putty
- Mixing containers and stirring sticks
- Fine-grit sandpaper for finishing
- Clean cloth or sponge for wiping away excess filler
Method for Fixing Epoxy Dimples
Step 1: Prepare the Surface
Begin by sanding the affected area lightly using sandpaper or a sanding block. This will help remove any loose debris or rough edges from the surface. Ensure that the area is clean and free of any dust or contaminants.
Step 2: Clean the Surface
Thoroughly clean the sanded area using a mild detergent or solvent to remove any remaining dirt, grease, or contaminants. Wipe the surface with a clean cloth or sponge and let it dry completely before proceeding.
You might wanna know : How Long Does Epoxy Resin Take To Dry
Step 3: Mix the Epoxy Filler
Follow the manufacturer's instructions to mix the epoxy filler or putty thoroughly. Use a mixing container and stirring stick to ensure the filler is well-blended and free of air bubbles.
Step 4: Apply the Filler
Using a spatula or putty knife, apply a small amount of the mixed epoxy filler to the dimpled area. Spread the filler evenly to fill the depression, but be careful not to overfill it, as excess material can be difficult to remove later.
Step 5: Smooth and Shape
Once the filler has cured partially, use fine-grit sandpaper to smooth out rough edges and shape the repaired area to match the surrounding surface. Take your time to achieve a seamless blend between the filler and the surrounding epoxy coating.
Step 6: Allow the Filler to Cure
Allow the epoxy filler to cure completely according to the manufacturer's instructions. This may take several hours or longer, depending on the type of filler used and environmental conditions such as temperature and humidity.
Step 7: Sand and Finish
Once the filler has fully cured, gently sand the repaired area again with a finer grit sandpaper to achieve a smooth finish. Wipe away any dust or debris with a clean cloth or sponge.
Step 8: Polish (Optional)
You can further polish the repaired area to enhance its appearance and ensure a seamless blend with the surrounding surface if desired. Use a suitable polishing compound and a clean cloth to buff the surface to a smooth shine.
Also read : How To Get Shine Back On Epoxy Floor
Tips for Preventing Future Epoxy Dimples
Here are some tips for preventing future epoxy dimples:
1. Clean Surfaces Thoroughly
Before applying epoxy, ensure surfaces are clean and free from dust, dirt, oil, or other contaminants. Proper cleaning promotes better adhesion and reduces the risk of dimples.
2. Use High-Quality Epoxy Products
Invest in high-quality epoxy resin and hardener from reputable manufacturers. Quality products are less likely to cause issues like air entrapment or uneven curing, resulting in smoother surfaces.
3. Follow Manufacturer Instructions
Always follow the manufacturer's instructions carefully when mixing and applying epoxy. Use the recommended mixing ratios, application techniques, and curing conditions for the best results.
4. Work in Ideal Conditions
Choose a suitable environment for epoxy application, with moderate temperature and humidity levels. Extreme conditions can affect epoxy viscosity and curing, leading to dimples and other imperfections.
5. Degass Epoxy Resin
Consider degassing the mixed epoxy resin before application to remove any trapped air bubbles. This can be done using a vacuum chamber or gently heating the mixture to release air bubbles.
6. Apply Thin Layers

Apply epoxy in thin, even layers to minimize the risk of air entrapment and surface imperfections. For a smooth finish, multiple thin coats are better than a single thick coat.
7. Inspect and Prepare Surfaces
Inspect surfaces for defects, cracks, or irregularities before applying epoxy. Address any issues and ensure surfaces are properly prepared for epoxy application to prevent dimples.
8. Use Proper Application Techniques
Apply epoxy using smooth, even strokes to avoid introducing air bubbles into the mixture. Avoid overworking the epoxy, as excessive brushing or agitation can lead to dimples.
9. Ensure Adequate Ventilation
Maintain proper ventilation in your workspace to prevent the accumulation of airborne contaminants or trapped gasses. Good ventilation promotes even curing and reduces the risk of dimple formation.
10. Monitor Curing Process
Keep an eye on the epoxy curing process and make any necessary adjustments to ensure optimal conditions. Proper curing is essential for achieving a flawless surface finish without dimples.
I have added another forum here to enhance your experience and provide further support. We hope it proves beneficial to you in your endeavors.
FAQs (Frequently Asked Questions)
1. Can I use any epoxy filler to repair dimples?
While many epoxy fillers are suitable for repairing dimples, choosing one compatible with your specific epoxy resin and surface type is essential.
2. How long does it take for epoxy filler to cure?
The curing time for epoxy filler can vary depending on factors such as temperature, humidity, and the type of filler used. Always refer to the manufacturer's instructions for guidance.
3. Will repairing epoxy dimples affect the overall appearance of my project?
When done correctly, repairing epoxy dimples should blend seamlessly with the surrounding surface, restoring its appearance without detracting from its overall aesthetic.
4. Can I paint over repaired epoxy dimples?
Yes, once the repaired dimples have cured and the surface is smooth, you can paint over them as you would with any other epoxy-coated surface.
5. Are epoxy dimples a sign of poor-quality epoxy resin?
Not necessarily. Epoxy dimples can occur even with high-quality epoxy resin due to various factors such as improper mixing, surface contamination, or environmental conditions. However, using high-quality materials can help minimize the risk of dimples occurring.
In Conclusion
Addressing epoxy dimples requires sanding the affected area, applying epoxy filler, and allowing it to cure fully. Following these steps can effectively repair dimples and achieve a flawless surface finish.


